We began working on the Pirate Fish model and it took about 1 week to model it following the best practices and tutorials. My pirate ended up more plump than the rest of the students I feel, but I am okay with my fish not being as well-built.

From here, we set aside another week to UV the whole model. I separated all of the UVs because Unreal Engine does not support overlying UVs.

After the UVing was done, the final step was to separate the whole model into poly sets. Poly sets make sculpting in Zbrush easy since it imports the model as layers.
It took another week to sculpt the pirate fish. It was made clear to us that we needed to follow the concept art as closely as possible, since that what concept art is created for.

I learned that my sculpt still does not contain the appropriate amount of small, medium and large details so that is something I will need to continue to keep in mind. I made a note of this on my previous sculpts, but I am still not brave enough apparently! My sculpt lines need to be DEEPER and THICKER. It does looks so much better when the details pop, and I still sculpt too soft for the details to really be seen. So, another mental note here.
This week, we will be baking the normal maps and begin painting the model. I did finish baking the normal maps and putting them on my model, so I will place my current progress here. Baking the normal maps was a very time-consuming process. Since the model was broken apart in ZBrush, you need to export each individual poly set (or subtool layer in Zbrush), and bake each piece separately. In Maya, the model should have been combined when you bring it into Zbrush. Since it is one piece, you need to break apart your model back into individual poly set groups and bake each group separately. However many poly sets you have, is how many Normal maps you have. After you've baked each set out, you need to take that bundle of Normal maps and put them all into one normal map using Photoshop. THEN you need to recombine your entire model again and apply that final normal map.
*Takes a deep breath* Whew! It certainly is a lot! And you have to keep in mind to make your AO maps along with them, so you're really baking twice for 1 poly set.
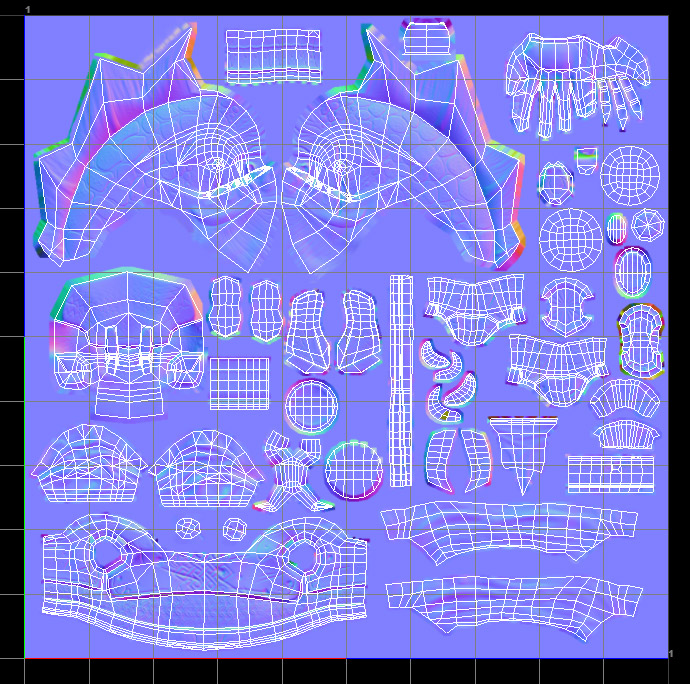
My normal maps bakes out decently. I had to fix a few of the edges on the head and around the belt. I was disappointed that the smaller, finer details are quick to get lost on a low-res bake.
So these are my normal maps....
And this is my Final Normal map applied to my low-res (or Game-res) model.

Next we are painting! So I have to take this combined model again, and send it into Mudbox to paint according to the concept art. We are doing that this week, so I should be able to post the results after this week is over! :)
No comments:
Post a Comment