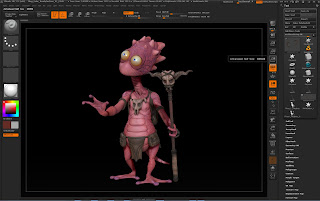
For Week 1, we have been introduced to reposing models. We were introduced to the pros and cons of two different methods...
Method 1 is using Zbrush and the transpose tool. This method was fast, but temporary. I am able to make a pose fairly quickly and fix a few errors here and there, but in order to do a separate pose, you need to change it every single time. Bummer there.
Method 2 is using Maya to create a skeleton. This process is simple, but time consuming. The good part about it, is that creating a skeleton means you can keep reposing it! So once you create that skeleton completely, you won't have to do it anymore!
There is also a final part to what we learned with reposing in ZBrush. We were introduced to the rendering process, then taking the results of the rendering process to pull them into Photoshop for touch-ups using the different channels.
Here are my results from Zbrush:
Original Pose:
Pose I created only using Transpose tool in ZBrush:
Putting all the exported Renders together to make a nice picture in Photoshop:
Final Exported Posing Image:
Here are my results from posing in Maya.. .We learned new tricks this time and I exported out a character sheet in ZBrush for this one.
I took Renders from Zbrush in both poses and cleaned up the look:


So I would like to see the feet interact interact with the ground better. Try to give the impression that there is more light at the top of the character than the bottom. Use a gradient in Photoshop. The tail needs to bend more smoothly, you may need to fix this in your zbrush layer. in the bright area of light, it is getting blown out. those areas should feel hot but not blown out. Think about our 3 point lighting set up, try to emulate those principals in photoshop as much as possible.
ReplyDelete