Wednesday, May 18, 2016

Summer Semester Project

I have decided I want to lean more towards prop making. I enjoy how each prop is a new challenge and you are able to make interesting shapes and new challenges.

Since I still want to explore hard surface modeling, I have decided to try to do a gun this round to practice my hard surface and interesting shapes.

I am also going to do a fusion 360 tutorial on how to make a knife.

✤ || CHARACTER DESIGN REFERENCES | キャラクターデザイン | çizgi film • Find more at https://www.facebook.com/CharacterDesignReferences & http://www.pinterest.com/characterdesigh if you're looking for: bande dessinée, dessin animé #animation #banda #desenhada #toons #manga #BD #historieta #sketch #how #to #draw #strip #fumetto #settei #fumetti #manhwa #cartoni #animati #comics #cartoon || ✤:

Sunday, May 1, 2016

Semester 2: Final Project - Knight

Continuing off from where I posted, I have finally completed what I was assigned for the final project. It was a great learning experience and I learned a lot of things to do differently for next time.

Here is the final result of my project as shown in the UE4 engine.


This was my pipeline for this project:

1. Block out proxy shapes in Maya
2. Sculpt in Zbrush
3. Retopo for a low-res model
4. UV low-res model
5. Bake out maps in Substance Designer
6. Export everything over to Substance Painter
7. Paint on textures
8. Touch up textures as needed in Photoshop
9. Import everything into Engine and hook everything up

Some of these steps I had learning opportunities with, but I overcame each one. My favorite part of the entire process was putting it all together in the engine and hooking up all the materials.

The metal and the cloth have different values and I think that shows nicely.


Things I learned:
1. In the beginning, I spent way too much time on the proxy mesh. I knew that the mesh would be tossed out, but I tried getting every little nook and cranny as nice as possible, and that just wasn't necessary. As long as I had the overall shape and nice edges, I could have proceeded.

2. Zbrush was the biggest challenge for me because I am still unfamiliar with the program. I could have spent the whole year in Zbrush trying to get the piece the way I want it to look and still not have accomplished it. Anyway, I also learned when to keep pushing forward here. I cannot say I was satisfied with my result in Zbrush, but I had to keep going forward.

3. ReTopoing was not that bad at all. It was a nice busy work to sit down and work through problems. I heard this process makes more sense with time, so while some of the geometry is a bit wonky, I am hoping to learn better techniques for this as I move forward and continue working on this part.

4. UVing was fine, however I didn't learn until I was texturing that some of the UVs were pretttty weird. I need to check them and take them seriously before moving forward.

5. Baking the maps, behind Zbrush, was the second most difficult thing to do. It took about five or six tries for the maps to bake out properly, but even then, they didn't bake out nicely. I had fixing to do.

6. Painting in Substance was fun, and I tried to consider the small, medium and large detail, but also took the concept art into consideration too. Next time, I need to consider making textures a bit larger, as they were hard to see and I had to redo them.

7. I actually enjoyed figuring out the Alpha maps and hair cards for the helmet. I think those turned out just swell.

8. My other favorite part was at the very end, watching the whole thing come together in UE4 and setting the materials up. I am learning the importance of all the maps, how to make them, and hook them all up. I also had the chance to properly pack maps into 1 pack rather than import half a dozen. It was nice to touch the engine again.

Monday, April 18, 2016

Final Project: Mid-Point Check

Here is an update for what I've been working on for the past two weeks.

I began by creating block proxies for each armor piece in Maya.


Next, I took these shapes and brought them into ZBrush to begin sculpting. Sculpting is the stage where I currently am right now. I have certainly learned a lot so far in this process, and I still have some adjustments I need to make on the sculpt to tighten it up better.

1. I need to make sure the proportions are better.
2. Need to make the cloth feel heavier.
3. Fix the wrinkles.


Wednesday, March 30, 2016

Final Project

We picked our final projects this week and I have decided on mine. For my capstone game, I am going to be making a lot of environment assets, so to break it up, I want to try making something different that I love. Armor!


For my final project, I am going to be modeling, sculpting and texturing the bust of the character above.

Week 10: Substance Painter

Another fun week working on the helmet using Substance! :D This is such a great program that really makes realistic painting easier to accomplish.


This is my result from this week's lesson. I played around with forming lots of folders and having structure for all the different areas of the helmet to change materials.

After I put each area into it's own folder structure which involved having a fill layer of different materials, I set up each material to reflect how I wanted it to look.

Then, I went head and played with all the settings to get something that was looking good and set up the color scheme.

I used many tips from the video to play around with different methods to accomplish the look I wanted.

Lastly, I hand painted some dirt and scratches along the surface. I would have liked to play around with edge damage more like what I did in Substance Designer.

Wednesday, March 23, 2016

Week 9: Substance Designer

This was a fun week! We learned how to bake all of our maps in Substance Designer rather than in Maya or another program.


While working on the helmet, I didn't think the helmet was scratched or beat up enough. It looked too perfect. While flipping through the options, I found a weathering option that adds rust to the helmet and was able to get a nice gradient of rust effect on the helmet which weathered it better. Here are my results from that exploration. I wish it would have kept the yellow trim, but it looks good with just the straight black too.


Substance Designer manages to make everything just look better. This was a fun program to use! Lots to explore and playing with the nodes are really rewarding when you get them to work.

This week, we took a helmet model that was provided to us, and played with the nodes.

I spent my time figuring out the masks and adding different textures to each area of the mask that was created. I also figured out how to get the visor to be transparent. :)

I found a nice cell noise pattern that made the helmet look like camo, and accented that camo with a golden color. These both share a texture.

The visor I tinted the same reddish-brown as the edges of the helmet.

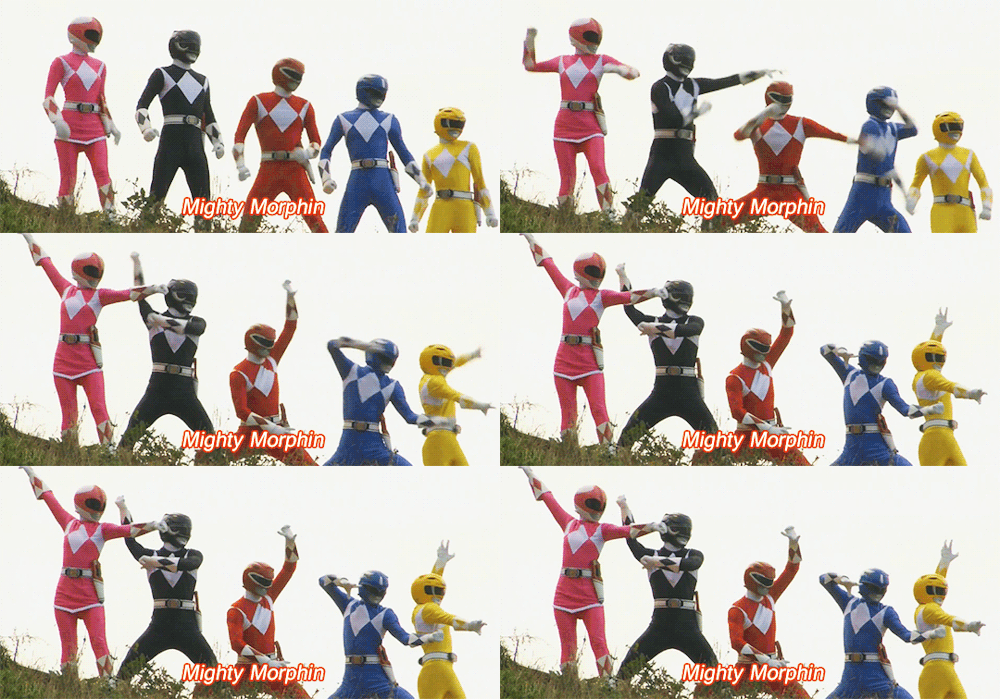
While working on this helmet though, there was only one thing I could think of:

(Specifically the red one.)


Thursday, March 3, 2016

Week 8: Modular Set and Paint Overs

This weeks assignment was to create a modular set and build a variety of models from it.

Since this is our big week with deciding which of our capstone games go through, the teacher agreed to just have one completely finished model made from the modular set.


This is a lantern that can be used in our game as an asset. I tried the Photobashing technique we learned to give the lantern the ribbed effect commonly seen on similar lanterns.

Part 2:

Continuing our study with modular assets, I made five more models using parts from each other to create more lantern concepts.